Socket
Introduction
A socket is one endpoint of a two-way communication link between two programs running on the network. A socket is bound to a port number so that the TCP layer can identify the application that data is destined to be sent to.
Prerequisite: socket example.zip
This zip file should contain;
- Node_modules folder
- Automobile.json
- Change.html
- Change.js
- Index.html
- package-lock.json
- Server.js
Moreover, you should have dashboard for socket and its databases, Upload Dataset first in to OPNBI and Dashboard afterwards.
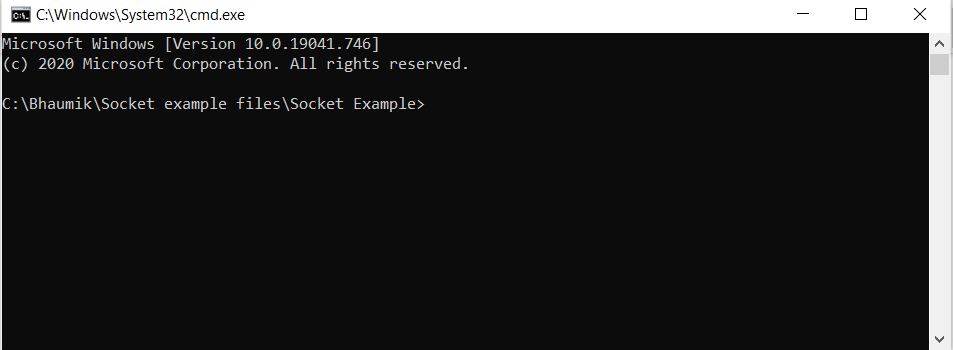
Once dashboard uploaded successfully, open command prompt and change path to folder containing Serve.js file.

Run this command: ‘node server.js’ from here.
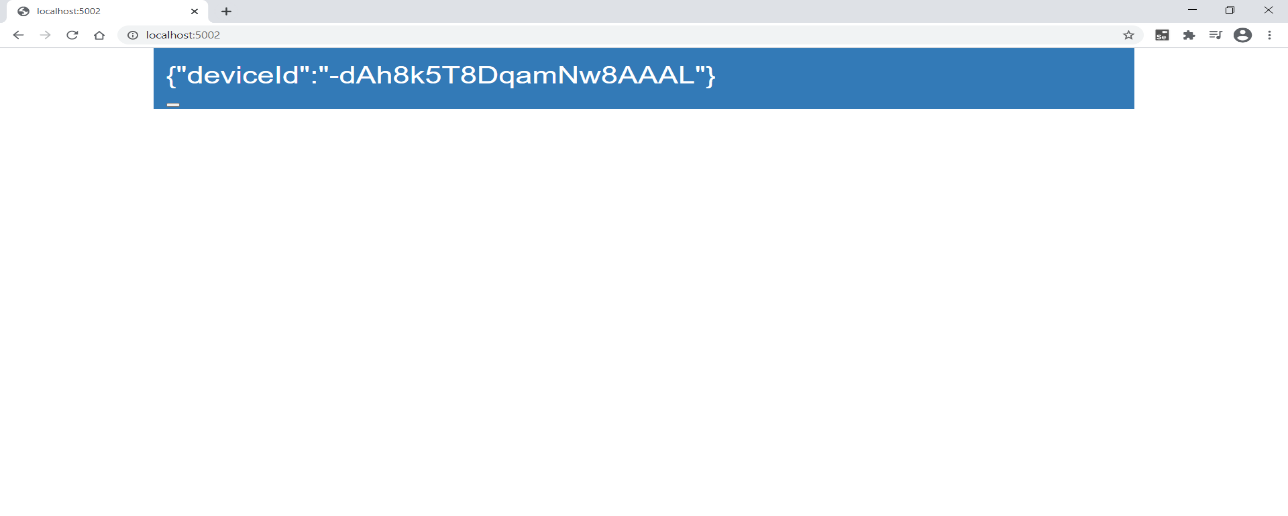
By executing this command, node server will start. To check this open browser and write ‘localhost:5002’ and hit enter. You will see the screen like below:

Once this screen available, open new tab and enter url ‘localhost:5002/change’ and hit Enter

To start socket, click on start button. Once you click on start you can see socket status changed to Started and Socket id is available as seen in below image

-Go to the previous tab and you can see data is refreshing. This means socket is working.
-Go to OPNBI and open socket dashboard you have uploaded and see widget data are updating frequently.